Loading…
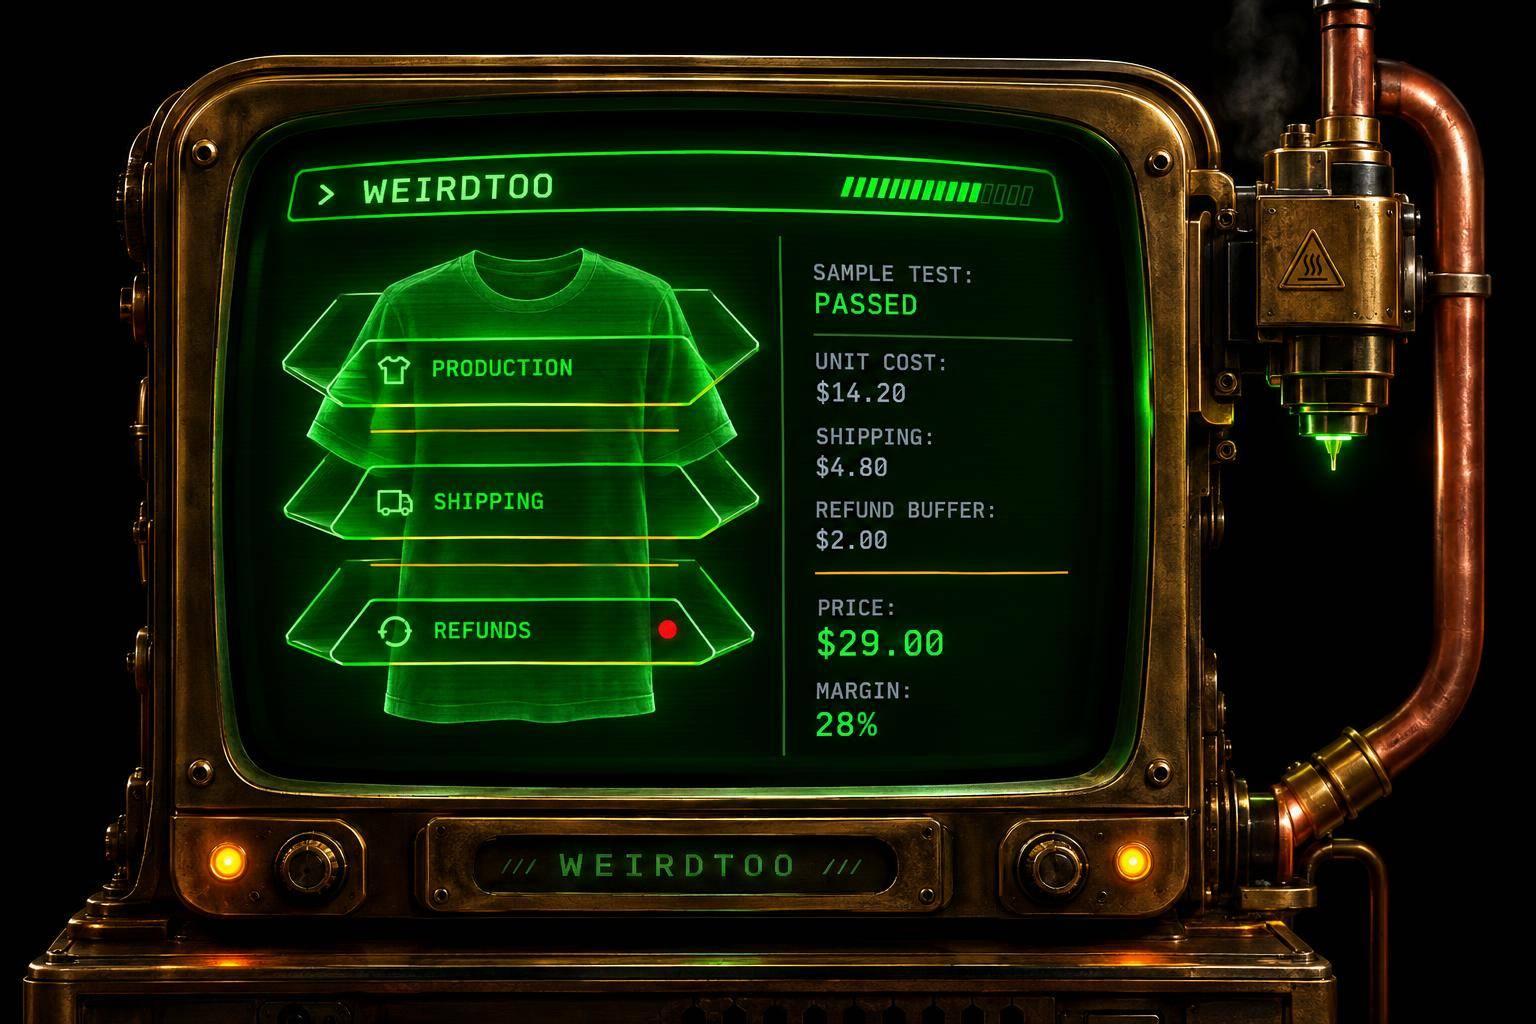
How to Sell Shirts Without Holding Any Stock
By weirdtoo·November 9, 2026·7 min read
No inventory doesn't mean no bills—use print-on-demand, test samples, and price shirts to cover production, shipping, and refunds.
How to Sell Shirts Without Holding Any Stock
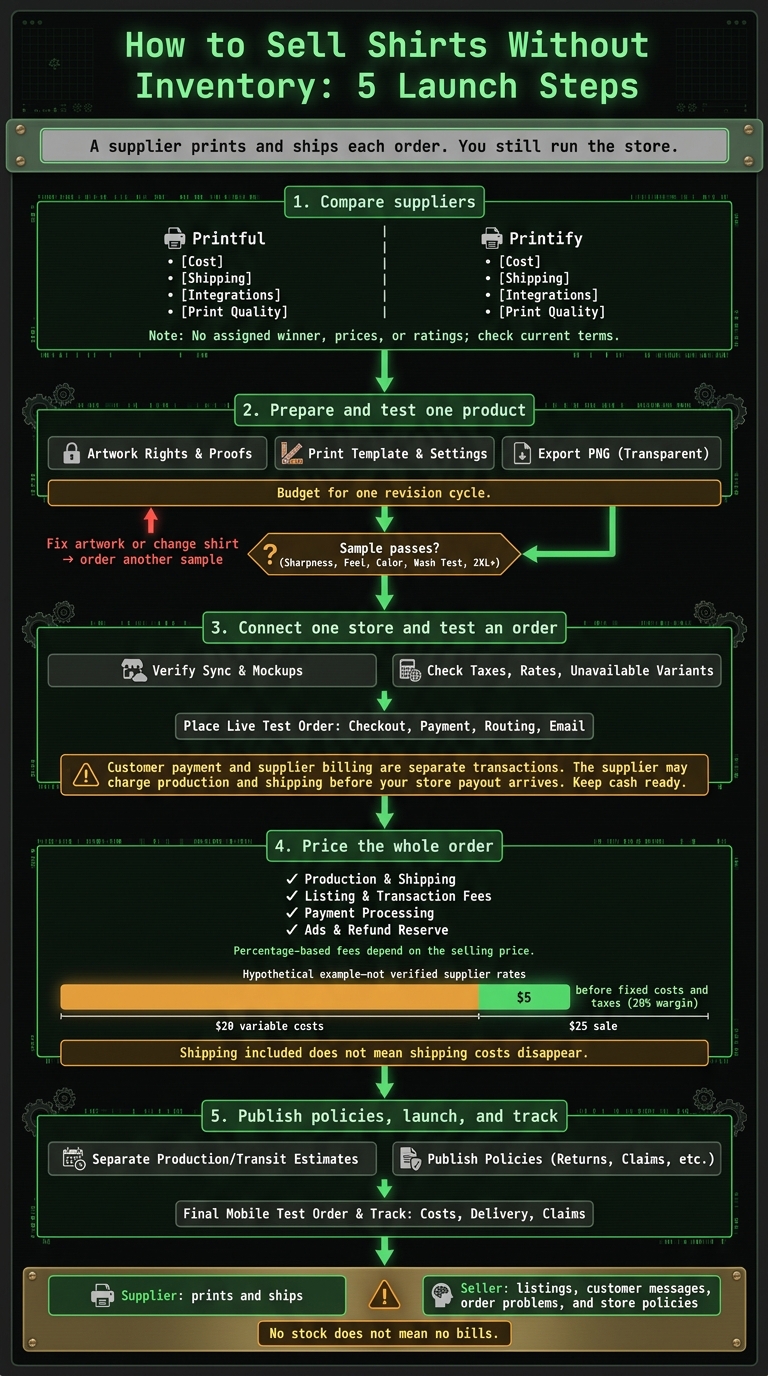
I’d use print-on-demand to sell shirts without buying inventory: a supplier prints and ships each order. Before launch, I’d test one design on one shirt and keep cash ready - the supplier may charge before the store payout arrives.
My launch checklist:
- Compare Printful and Printify using the same shirt and U.S. delivery address. Check production cost, shipping, store connections, billing, and print quality.
- Check artwork rights, prepare the print file, verify sizes and colors, and wash-test a sample.
- Connect one store and place a test order to check checkout, supplier billing, fulfillment, and emails.
- Price the whole order, including shipping, fees, ads, and a refund reserve - not just the blank and print.
- Publish delivery and return policies, then track costs and problems before adding designs.
Hypothetical math: a $25 sale with $20 in variable costs leaves $5 before fixed costs and taxes - a 20% margin. <u>No stock does not mean no bills.</u>
How to Sell Shirts Without Inventory: 5 Launch Steps
How to Start a Print on Demand T-shirt Business on Etsy
sbb-itb-342b8b2
2. Prepare Your Design and Check a Sample
With your supplier chosen, prepare the print file, pick the shirt blank, and test a sample before launch.
Check Artwork Rights and Print Files
Finalize one original design. Keep the source files and written proof that you can sell it on merchandise. Check rights for every font, graphic, character, logo, trademark, and lyric. Downloading an asset does not give you permission to put it on merch. Only prepare artwork for printing once you’ve confirmed you can legally sell it. [1][4]
Use your provider’s template for the chosen print method. At print size, check resolution, placement, scale, safe areas, and color settings. Export artwork that needs transparency as a PNG with a transparent background - not a white one. Avoid tiny lettering, and check a physical print before approving colors. [2][4][6]
Choose Your Shirt, Sizes, and Colors
Pick one blank and a few colors that contrast with the artwork. Compare fit, fabric, price, color availability, size range, and provider location. Match the shirt to the fit and feel your customer expects.
Check availability and price for each variant, especially 2XL and larger. List only sizes, colors, and print placements you’ve verified the supplier can produce. Once you’ve narrowed the options, order a sample.
Test Samples and Track Startup Costs
Before launch, inspect the sample’s print sharpness, fabric feel, color accuracy, packaging, and measurements against the size chart. Wash it several times using the care instructions. If it fails your checks, fix the file or change the shirt, then order another sample before listing the product. [1][2][4]
Keep sample charges, shipping, artwork, software, domain, and sales-channel fees in one spreadsheet. Budget for one revision cycle in case the first sample fails. [2][4][5]
3. Connect Your Store and Test an Order
After your sample passes, connect one sales channel and test the full order flow before launch. Pick a channel that fits your audience, fees, and branding needs. Starting with one keeps listings and order settings easier to track.
Set Up Product Listings and Checkout
Connect your store through the provider’s integration, then approve product sync and order routing. Once products sync, check every size, color, mockup, description, and size chart against the exact supplier product. Each listing should match the blank, print area, and fit you’ll sell.
Before enabling checkout, check taxes, shipping rates, and variant availability settings. Blank stock can run out. Hide unavailable variants before checkout goes live. [1][4]
Test Billing, Fulfillment, and Order Emails
Place a live test order to check checkout, payment confirmation, supplier routing, and customer emails. Follow it through fulfillment. If it doesn’t appear in Printful or Printify, check app permissions, variant mapping, and the payment method on file. [1][2]
Customer payment and supplier billing are separate transactions. Make sure your payment method can cover production and shipping when the supplier bills you. Check the supplier’s order-approval settings so you know when charges occur.
The provider prints and ships. You still handle listings, customer messages, order problems, and store policies. [3]
Once the test order flows correctly, price the shirt to cover production, shipping, and fees.
4. Price Shirts to Cover All Costs
Set a price that covers each order’s costs and leaves room for profit. Check when those costs hit, too. A profitable sale can still leave you short on cash if the supplier charges before your payout arrives.
Build a Sample U.S. Pricing Worksheet
Start with the shirt, shipping, fees, and marketing, then factor in your target margin.
Price = (Base cost + shipping + fees + marketing) ÷ (1 - target margin). [1]
Include platform fees, listing fees, transaction fees, payment processing, ad spend, and a refund reserve. Percentage-based fees depend on the selling price, so account for that when using the formula.
The amounts below are hypothetical U.S. worksheet inputs, not verified supplier rates or WEIRDTOO prices.
| Cost or balance | Illustrative amount | Charge timing | Payer | Margin impact |
|---|---|---|---|---|
| Production (shirt + printing) | $8.00–$12.00 | At fulfillment | Seller | Base cost |
| Shipping | $4.75 | At fulfillment | Seller | Reduces margin |
| Store subscription/platform fee | $29.00/month | Monthly | Seller | Fixed overhead |
| Listing fee | $0.20 | At listing | Seller | Small variable cost |
| Transaction fee | 6.5% of total | At sale | Seller | Variable fee |
| Payment processing | 3% + $0.25 | At sale | Seller | Variable fee |
| Ad spend per order | $1.50 estimated | Per click/sale | Seller | Variable marketing cost |
| Refund/replacement reserve | $1.00 estimated | Per sale | Seller | Buffer |
Break-even shirts = fixed monthly costs ÷ profit per shirt before fixed monthly costs, rounded up.
For that calculation, subtract each shirt’s variable costs from its revenue. Keep fixed monthly costs out of the per-shirt figure so you don’t count them twice.
Once you’ve set the base price, decide whether to charge shipping separately or include it.
Decide How to Charge for Shipping
Shipping-included pricing keeps checkout simpler. It doesn’t erase the supplier’s shipping fee. Build that cost into the shirt price.
| Strategy | Customer-visible price | Seller-paid shipping | Margin risk | Best for |
|---|---|---|---|---|
| Separate shipping | Shirt price plus shipping at checkout | Covered by order proceeds | Lower if shipping is priced accurately | Orders with widely varying rates |
| Shipping included | One price before tax | Deducted from shirt revenue | Higher if shipping costs vary | Simpler checkout |
| Flat shipping charge | Shirt price plus a fixed charge | Seller covers any shipping difference | Medium | Small catalogs with similar shipping costs |
Before setting a flat rate, compare supplier shipping charges by destination, service, product, and order size. Use the applicable rate in each calculation. Otherwise, a higher-cost shipment can eat into the profit you planned to keep.
5. Set Store Policies and Launch
Once pricing is set, publish policies that protect your margin and tell buyers what to expect. No inventory removes storage risk, not business risk. Cover delays, defects, claims, and cash flow. Returns and reships can wipe out an order’s profit.
Explain Production and Shipping Times
Show production and transit times separately on product pages, at checkout, and in confirmation emails. Use current estimates, not fixed delivery promises. Tell buyers promptly when delays occur, especially during holiday peaks.[4][7]
Define Returns, Replacements, and Claims
Require photos for defect claims. State that buyers cover costs caused by sizing mistakes or wrong addresses. Before publishing, check your supplier’s current claim deadline, required evidence, and return steps. Include the size chart for the exact shirt you sell to help buyers check the fit.[4]
Check Everything Before Launch
Before opening checkout, check the details that could derail a first order.
Launch checklist:
- Publish your policies.
- Verify shipping settings.
- Confirm you have cash to cover the first orders.
- Place a final test order on mobile and check the order emails.
Keep a backup plan for supplier or platform problems.[2][4]
Track costs, delivery times, and claims from your first orders before adding more designs.
FAQs
How much cash should I reserve for my first orders?
A common starting budget is $100 to $1,500. Set aside enough cash or credit to pay for production and shipping on expected orders. Suppliers charge before your sales channel releases customer payments, so that money needs to be ready.
Include samples, platform fees, and any test advertising in your budget. To keep costs down, use organic marketing and limit paid subscriptions. Keep a separate business bank account so supplier funds stay accessible and bookkeeping stays simpler.
What if my supplier runs out of shirts?
A sold-out blank shirt can stop an order. Print-on-demand services need blank shirts in stock to fulfill orders as placed. Check supplier stock regularly so you can pause sales before a shortage affects customers.
If a shirt becomes unavailable, temporarily unlist it and ask your supplier when it will return. You may also be able to manually send the order to another print provider, if your platform supports it.
Who pays for refunds my supplier won’t cover?
Refunds usually come out of your business’s funds unless the supplier explicitly covers the issue. In print-on-demand (POD), the supplier prints and ships the shirts, but you handle customer service, returns, and refunds.
Printify notes that buyers contact your store about sizing, delays, or returns. You resolve those requests with help from the provider’s team, so check what the supplier covers before promising a refund.
Current contact path
Need custom apparel or scoped help?
Use the contact form; removed product, checkout, research, and newsletter funnels stay offline.